
Metal roofing installation offers durability, energy efficiency, and a modern aesthetic, making it a popular choice for residential and commercial buildings. This guide provides detailed steps and tips for a successful installation process.
Benefits of Metal Roofing
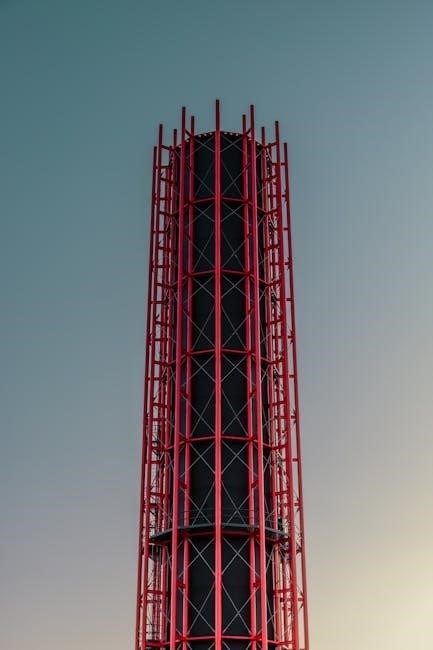
Metal roofing offers numerous advantages, making it a top choice for homeowners and builders. Its durability ensures a lifespan of 30 to 50 years or more, far exceeding traditional asphalt shingles. Metal roofs are highly resistant to weathering, including heavy rain, hail, and snow, reducing the need for frequent repairs. They are also fire-resistant, providing an added layer of safety. Energy efficiency is another key benefit, as metal roofs can reflect solar rays, lowering cooling costs in warmer climates. Additionally, metal roofing is lightweight, making it easier to install without compromising structural integrity. It requires minimal maintenance and is resistant to mold, mildew, and pests. Many metal roofing options are also eco-friendly, as they can be made from recycled materials and are fully recyclable at the end of their life. With its sleek, modern appearance and variety of styles, metal roofing enhances both residential and commercial properties, offering a durable, cost-effective, and visually appealing solution.
Types of Metal Roofing Panels
There are several types of metal roofing panels available, each offering unique features and benefits. Standing seam panels are a popular choice, known for their raised seams and weather-tight design, ideal for both residential and commercial use. Exposed fastener panels are another option, where screws are visible on the surface, providing a cost-effective solution. Hidden fastener panels, on the other hand, conceal the screws, offering a sleek, seamless appearance. Corrugated metal panels are durable and versatile, suitable for various applications. Additionally, metal shingles mimic the look of traditional shingles but with enhanced durability and fire resistance. Each type of panel is designed to meet specific needs, whether it’s for structural integrity, aesthetic appeal, or budget considerations. Understanding the differences and choosing the right panel type is crucial for a successful installation that meets your project’s requirements and enhances the property’s value. Proper selection ensures optimal performance and longevity of the roofing system.
Importance of Proper Installation
Proper installation is critical for ensuring the durability, weather resistance, and overall performance of a metal roofing system. A well-installed roof prevents leaks, withstands harsh weather conditions, and maintains energy efficiency. Improper techniques can lead to premature wear, structural damage, and safety hazards. Common mistakes include incorrect screw patterns, inadequate sealing, and poor alignment of panels. These errors can compromise the roof’s integrity, leading to costly repairs and potential safety risks. Additionally, proper installation ensures compliance with manufacturer warranties, which often require adherence to specific guidelines. Investing time and effort into a precise, methodical installation process guarantees long-term benefits, including reduced maintenance and enhanced curb appeal. By following established best practices and manufacturer recommendations, installers can achieve a professional-grade finish that protects the building for decades. Proper installation is not just a technical requirement but a foundational step in maximizing the value and lifespan of a metal roofing system.
Planning and Preparation
Planning and preparation are essential for a successful metal roofing installation. Measure the roof accurately, calculate materials needed, and choose the right roofing type. Budgeting, tool preparation, and site readiness ensure a smooth process.
Measuring the Roof
Measuring the roof accurately is a critical step in metal roofing installation. Start by determining the total square footage of the roof surface to ensure you purchase the correct amount of materials. Use a tape measure to record the length and width of each roof section, taking note of any slopes, valleys, or unique features. For complex roofs, consider breaking the area into smaller, manageable sections and adding 10% to your measurements to account for waste and cuts. Additionally, measure the distance between rafters to ensure proper alignment of panels. Accurate measurements prevent material shortages and ensure a seamless installation process.
Calculating Materials Needed
Calculating materials needed for metal roofing involves determining the quantity of panels, fasteners, underlayment, and flashing required. Start by using your roof measurements to calculate the total square footage. Add 10% to account for waste and cuts. For panels, divide the total area by the size of one panel. Fasteners are typically required every 12-24 inches, depending on the panel type. Underlayment is needed for the entire roof area, and flashing should be measured based on valleys, vents, and edges. Consider the length and number of ridge caps and roof-to-wall flashing. Ensure all measurements align with the manufacturer’s specifications and local building codes. Accurate material calculation prevents delays and ensures a smooth installation process. Double-check your calculations to avoid shortages or excess materials, which can increase costs and waste. Proper planning ensures the project stays on budget and meets quality standards.
Choosing the Right Metal Roofing Type
Selecting the appropriate metal roofing type is crucial for durability, aesthetics, and functionality. Common options include standing seam, corrugated metal panels, and metal shingles. Standing seam roofs are popular for their sleek appearance and weather-tight performance, while corrugated metal panels offer a cost-effective, easy-to-install solution. Metal shingles mimic traditional roofing materials like asphalt but provide superior longevity. Consider factors such as climate, budget, and architectural style when making your decision. For instance, standing seam is ideal for modern designs, whereas metal shingles blend well with traditional homes. Additionally, some systems are designed for specific purposes, like agricultural or commercial use. Ensure the chosen type meets local building codes and manufacturer warranties. Proper material selection ensures the roof performs well under various conditions. Always consult with professionals or manufacturers to determine the best fit for your project. Matching the right roofing type to your building’s needs guarantees long-term satisfaction and optimal performance.
Budgeting for the Project
Budgeting for a metal roofing installation is essential to ensure the project stays on track financially. The total cost includes materials, labor, and additional expenses like underlayment and fasteners. Material costs vary depending on the type of metal roofing chosen, with options ranging from affordable corrugated panels to premium standing seam systems. Labor costs can also fluctuate based on the installer’s expertise and the roof’s complexity. It’s important to obtain detailed quotes from suppliers and contractors to estimate expenses accurately. Consider long-term savings, such as reduced energy bills and lower maintenance costs, which offset the initial investment. Additionally, factor in potential extras like flashing, vents, and valleys, which add to the overall budget. Proper financial planning ensures the project is completed without unexpected expenses. Always compare prices and consider warranties or discounts offered by manufacturers. A well-planned budget guarantees a successful and stress-free metal roofing installation process.
Tools and Equipment Required
Installing metal roofing requires specific tools and equipment to ensure a professional and secure installation. Essential tools include a metal shear or cutter for trimming panels, a drill with screwdriver and hex bits for fastening, and an impact wrench for tightening. Safety gear like gloves, safety glasses, and a harness is crucial for protection. A ladder or scaffolding is necessary for roof access, while a chalk line and tape measure help in aligning panels accurately. Additional tools include a utility knife for cutting underlayment, a hammer for tapping panels into place, and a level to ensure even installation. For standing seam systems, a seamer is required to crimp and secure panels. Weatherproof sealants and caulking guns are also needed for sealing gaps and edges. Having the right tools ensures efficiency and prevents installation errors. Always choose high-quality equipment to handle the demands of metal roofing work effectively.
Preparing the Roof
Preparing the roof involves inspecting and repairing the structure, removing old materials, and cleaning the surface. Installing underlayment is crucial for a secure and even base, ensuring proper metal roofing installation.
Inspecting and Repairing the Existing Roof Structure
Inspecting the existing roof structure is a critical step in metal roofing installation. Begin by evaluating the condition of the roof deck, rafters, and trusses for any signs of damage, rot, or wear. Ensure all structural elements are secure and capable of supporting the weight of the new metal roofing system. Check for any sagging or uneven areas, as these may indicate underlying issues that need attention. Repair or replace any damaged or rotten wood to ensure a stable base for the installation. Additionally, verify that the roof is square and properly aligned, as metal roofing requires a precise fit to function correctly. Addressing these issues beforehand prevents potential problems during and after installation, ensuring a durable and long-lasting metal roofing system. Proper inspection and repair lay the foundation for a successful installation process.
Removing Old Roofing Materials
Removing old roofing materials is a crucial step before installing a new metal roof. Start by stripping off all existing shingles, tiles, or other roofing materials to expose the underlying structure. Wear safety gear, including gloves and a dust mask, to protect yourself from debris and potential hazards. Use a shovel, pry bar, or roofing scraper to carefully pry up and remove the old materials, working from the top of the roof downward to avoid spreading debris. Be cautious not to damage the roof deck or underlying structure during the removal process. Once the old materials are removed, inspect the roof deck for any remaining fasteners or adhesive residue and clean it thoroughly. Proper disposal of the old materials is essential, so consider renting a dumpster or arranging for professional removal services. A clean slate ensures a smooth and successful metal roofing installation. This step is vital for achieving a durable and long-lasting result.
Cleaning the Roof Surface
Cleaning the roof surface is essential before proceeding with metal roofing installation. Start by removing any debris, such as dirt, leaves, or leftover materials from the previous roof, using a broom or pressure washer. Ensure the surface is free from dust, oil, and mildew, as these can interfere with the underlayment’s adhesion. For stubborn stains or algae growth, apply a mild detergent or specialized roof cleaner, scrubbing gently with a soft-bristle brush. Rinse thoroughly with clean water to remove all residue. Avoid using harsh chemicals or abrasive tools that might damage the roof deck or existing structures. Allow the surface to dry completely before installing the underlayment and metal roofing panels. A clean, dry roof surface ensures proper adhesion and a durable installation. This step is critical for maintaining the integrity and longevity of the metal roofing system, so take the time to do it thoroughly and safely.
Installing Underlayment
Installing underlayment is a crucial step in metal roofing installation, providing a protective barrier between the roof deck and the metal panels. Begin by unrolling the underlayment material, ensuring it aligns with the roof’s edge. Use a staple gun or fasteners to secure it to the deck, starting from the bottom and working upwards. Apply the underlayment in overlapping courses, typically 6 to 12 inches, to ensure complete coverage. For valleys and around vents or skylights, carefully cut the material to fit snugly, using a utility knife. Synthetic underlayment or traditional felt paper are common choices, each offering different benefits. Proper installation ensures a tight, smooth surface, preventing wrinkles that could affect the metal panels’ adhesion. A well-installed underlayment is essential for the longevity and performance of the metal roofing system.
Framing and Structural Requirements
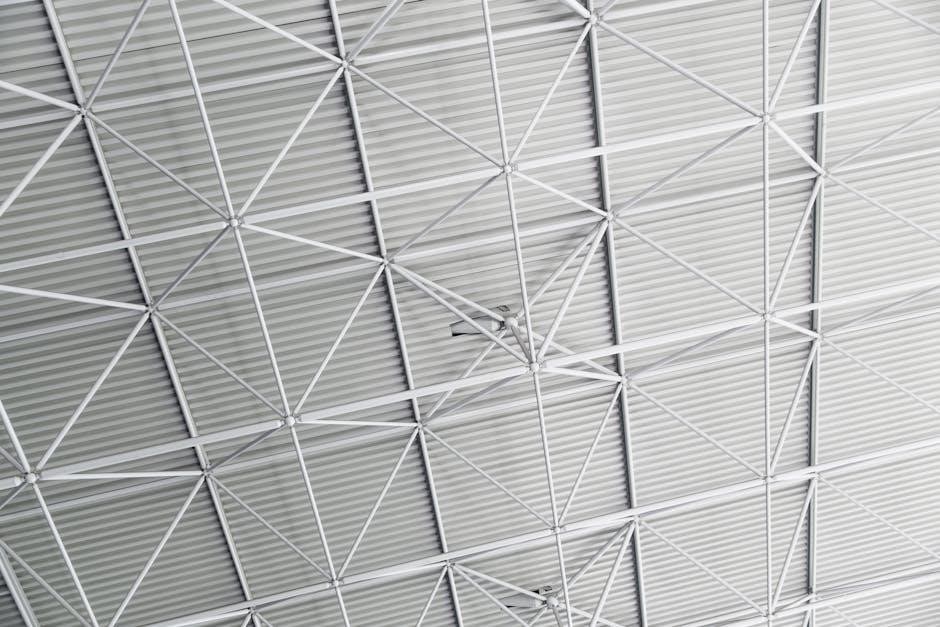
Ensuring proper framing and structural integrity is a critical step in metal roofing installation. The roof deck must be sturdy and even to support the weight of the metal panels. Inspect the existing structure for any damage or rot and repair it before proceeding. Verify that rafters and trusses are securely fastened and can bear the load. The spacing between rafters, typically 16 or 24 inches on center, must align with the metal panel dimensions to ensure proper support. If the structure is not sound, it can lead to sagging or failure of the roofing system. Additionally, check local building codes for specific requirements regarding structural reinforcement. Proper framing ensures the stability and durability of the metal roof, preventing potential issues like uneven surfaces or water pooling. Always consult a professional if structural modifications are needed to meet safety and performance standards.
Installation Process
Metal roofing installation involves precise planning and execution. Start with a clean, prepared surface and ensure panels are properly aligned and securely fastened to prevent leaks and ensure durability.
Starting the Installation
Starting the installation begins with ensuring the roof surface is clean and dry. Begin at the lowest point of the roof, aligning the first panel with the edge. Use chalk lines to mark the layout and ensure all panels are square to the roof line. Proper alignment is crucial to prevent future issues such as leaks or uneven wear. Secure the panels with approved fasteners, spaced evenly as specified by the manufacturer. Overlap panels by 1/2 to 3/4 of an inch, ensuring a snug fit. Double-check that all edges are properly sealed to maintain weather-tight integrity. Before proceeding, verify that the initial row is perfectly aligned, as this sets the foundation for the entire installation process. Any misalignment can lead to complications in subsequent rows, making it essential to take the time to get this step right.
Installing Metal Roofing Panels
Installing metal roofing panels requires precision and care to ensure a secure and weather-tight seal. Begin by positioning the first panel at the starting point, aligning it with the edge of the roof. Use a level to ensure it is perfectly horizontal. Once aligned, attach the panel using the recommended fasteners, typically screws with rubber washers, spaced evenly according to the manufacturer’s specifications. For standing seam panels, use a seam roller to crimp the edges, ensuring a tight seal. For exposed fastener panels, pre-drill holes to prevent the metal from warping and secure with screws. Overlap subsequent panels by the recommended amount, usually 1/2 to 3/4 of an inch, and ensure each panel is square to the roof line. Work from the bottom up, moving row by row, and consistently check alignment to maintain structural integrity. Proper installation of each panel is critical to achieving a durable and long-lasting roof.

Handling Valleys and Vents
Handling valleys and vents in metal roofing installation requires careful attention to ensure proper water flow and ventilation. Begin by measuring the valley length and cutting the metal panels to fit snugly, leaving a small gap for expansion. Use a waterproof membrane or specialized valley flashing to line the area, ensuring it extends beyond the valley by at least 6 inches on both sides. Secure the membrane with adhesive or mechanical fasteners as recommended. For vents, position them according to the manufacturer’s guidelines, typically near the roof’s peak to maximize airflow. Cut the metal panels around the vent using a template or guide to achieve an accurate fit. Apply a layer of sealant around the vent’s edges and install flashing kits designed for metal roofing to create a watertight seal. Ensure all fasteners are securely tightened but avoid over-tightening, which could damage the roofing material. Proper handling of valleys and vents is crucial to prevent leaks and maintain roof integrity.
Installing Hips and Ridges
Installing hips and ridges is a critical step in metal roofing installation, ensuring a watertight and structurally sound roof. Begin by measuring the length of the ridge and cutting the metal panels or ridge cap to fit precisely. Secure the panels along the ridge using screws or rivets, spacing them evenly as specified by the manufacturer. For hips, which are the diagonal lines where two roof planes meet, cut the metal panels to align with the hip line, overlapping the edges by at least 1 inch. Use a hip cap or pre-formed hip flashing to cover the joint, ensuring it is tightly fastened to prevent gaps. Apply a bead of sealant along the edges of the hips and ridges for additional protection against leaks. Finally, inspect the entire ridge and hip system to ensure proper alignment and secure fastening. This step completes the structural integrity of the roof, providing a seamless and durable finish.
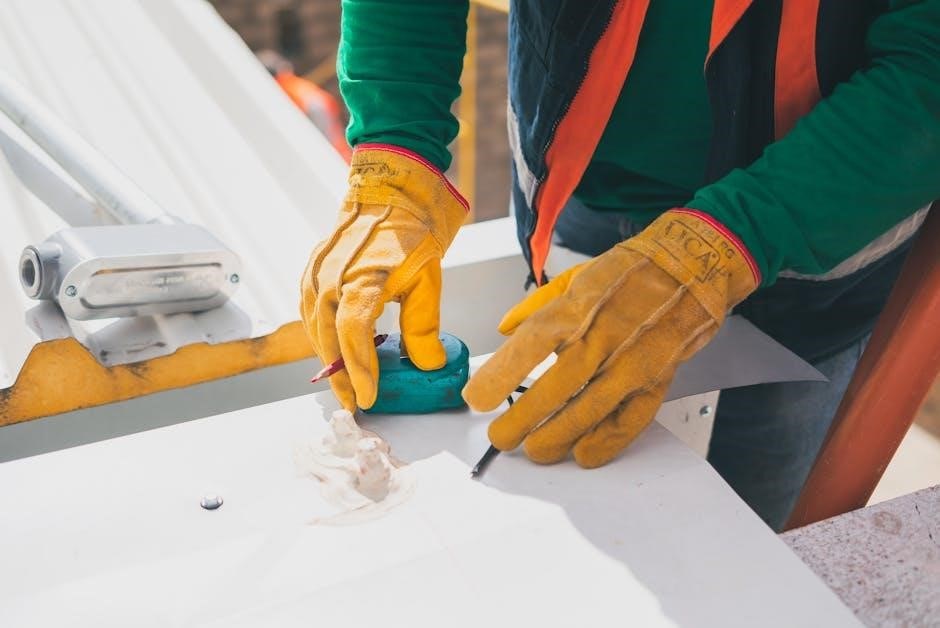
Flashing Installation
Flashing installation is essential for ensuring a watertight seal around roof penetrations and critical areas such as vents, chimneys, and valleys. Begin by measuring and cutting the flashing material to fit the specific application, ensuring it aligns with the roof’s slope and design. Secure the flashing with compatible fasteners, such as screws or rivets, spaced evenly to maintain structural integrity. Apply a bead of high-quality sealant along the edges of the flashing to prevent water infiltration. For valleys, use pre-formed valley flashing to streamline installation and enhance durability. Ensure all flashing is tightly fastened and sealed to maintain the roof’s integrity. Properly installed flashing protects against leaks and extends the lifespan of the metal roofing system. Always follow manufacturer guidelines for material compatibility and installation techniques to achieve optimal results. Regular inspections of flashing are recommended to address any potential issues promptly. This step ensures long-term performance and protects against weather-related damage.
Completing the Roofing System
Completing the roofing system involves finalizing all components to ensure a watertight and visually appealing installation. Begin by inspecting the entire roof for any gaps or loose panels, addressing these issues promptly. Install ridge caps to cover the top of the roof, securing them with compatible fasteners and sealants. Ensure all hips, valleys, and flashing are properly aligned and sealed. Finish by installing any decorative or functional trim, such as eave trim and gable trim, to enhance the roof’s appearance. Conduct a thorough final inspection, checking for tight fasteners, proper alignment, and complete sealing of all joints and seams. Apply touch-up paint to any scratched or exposed metal surfaces. Document the installation process and maintain all warranties and manufacturer guidelines for future reference. A well-completed roofing system ensures long-term durability, energy efficiency, and aesthetic appeal, protecting the building from environmental elements effectively.
Post-Installation Steps
After completing the installation, inspect the roof for any imperfections or gaps. Perform routine maintenance to ensure longevity and functionality. Schedule regular checks to address potential issues early and maintain the roof’s integrity.
Inspecting the Finished Roof
Inspecting the finished roof is a critical step to ensure all components are securely installed and functioning properly. Start by examining the metal roofing panels for any scratches, dents, or misaligned seams. Verify that all fasteners are tightly secured and evenly spaced to prevent leaks or structural issues. Check the flashing around vents, chimneys, and skylights to ensure they are properly sealed and aligned with the roof surface. Look for any gaps or loose edges that could compromise the roof’s integrity. Additionally, inspect the gutters and downspouts to ensure they are clear and functioning correctly. Pay special attention to valleys and ridges, as these areas are prone to leaks if not properly sealed. Finally, review the entire roof to ensure it meets the manufacturer’s specifications and your personal satisfaction. A thorough inspection will help identify and address any potential issues before they become major problems.
Maintenance and Repair Tips
Maintaining a metal roof ensures its longevity and performance. Regularly inspect the roof for debris, such as leaves or branches, and clean it to prevent damage. Use a soft brush or mild detergent to avoid scratching the surface. Check gutters and downspouts to ensure proper water flow. Tighten any loose fasteners and replace missing ones to maintain the roof’s integrity. Address minor scratches or dents promptly with touch-up paint to prevent rust. For more significant damage, such as punctures or bent panels, contact a professional for repairs. Avoid walking on the roof unnecessarily, as this can cause wear and tear. Schedule annual inspections by a certified contractor to identify and fix potential issues early. Proper maintenance and timely repairs will extend the life of your metal roof and protect your investment.